Chain Removal/Attachment
Part of maintaining a healthy bike is knowing how to remove and reattach your chain. Watch a detailed demonstration on how to perform that process:
Follow along using this guide:
- Move the chain to the smallest chaining and smallest cog before removing the chain. This will help relieve tension in the chain.
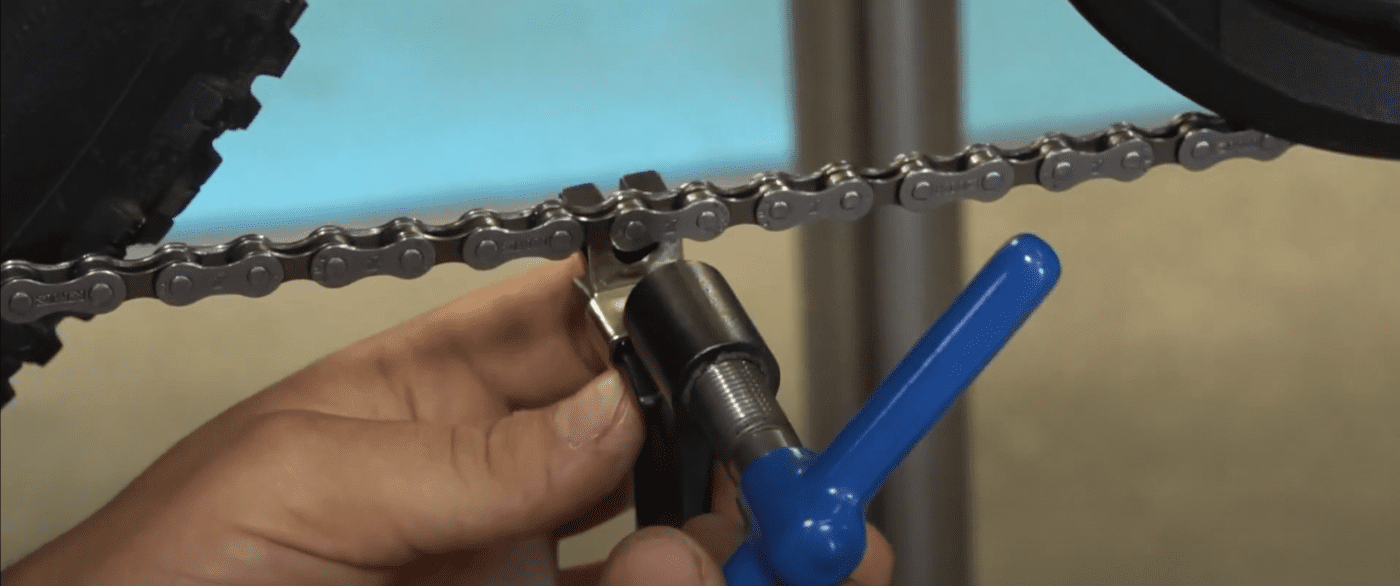
- Use the chain removal tool to loosen one of the chain pins and remove the chain. This will temporarily break one of the connections holding the chain together. When reconnecting the chain, be sure not to completely separate the pins from the metal; this will make reconnection more difficult.

3. After carefully removing the chain, it might be a good time to check the cassette. Look for signs of wear around the profile edges of the teeth, as this may affect the rotation of the chain. Assuming everything looks good, use a cleaner to wipe down the flywheel and chain of dirty residue. Connecting a clean chain to a dirty gear is counterintuitive.
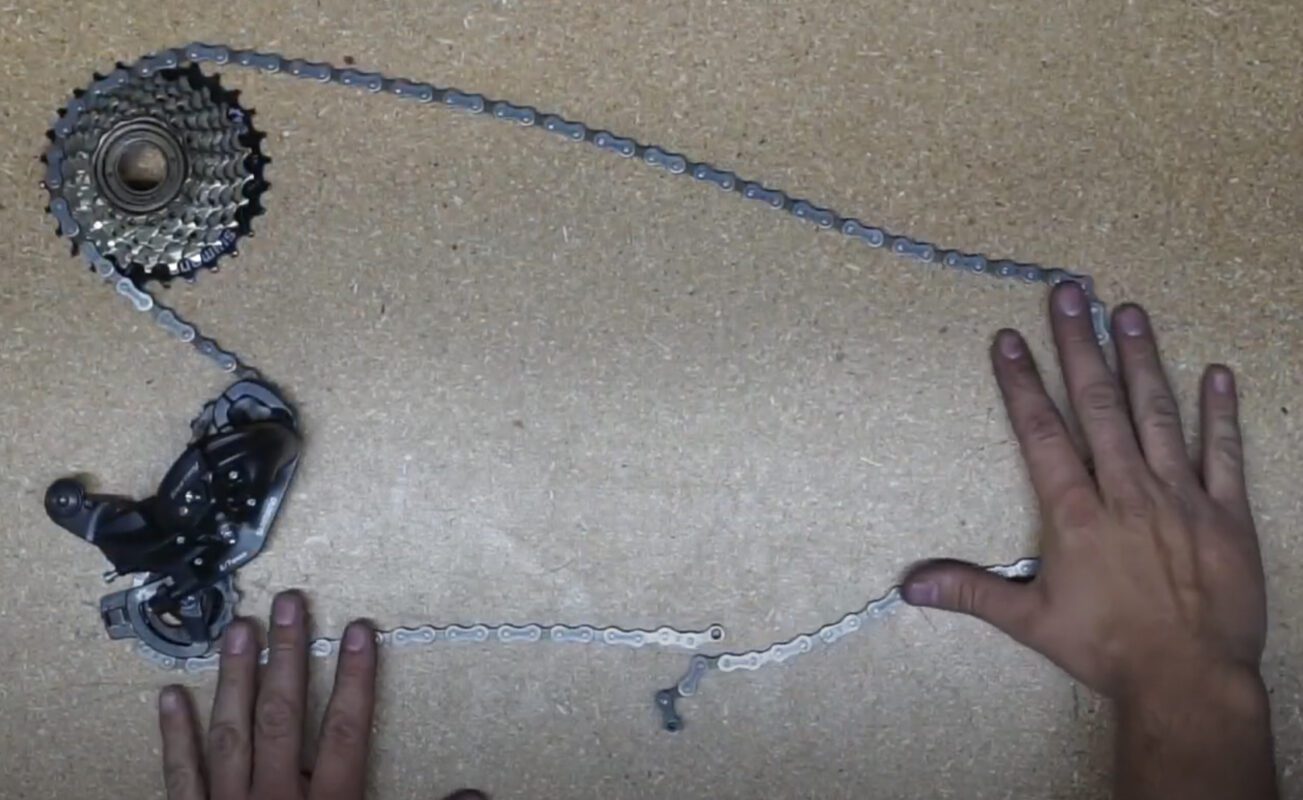
4. Install the new chain around the upper cassette and wrap it around the lower cassette, forming an “S” shape. Pay close attention to ensure that the chain is correctly passed through the pulley on the rear derailleur.

5. Reattach the chain with the chain tool by reversing the process you performed to remove the pin.
If you have any questions, please don’t hesitate to contact our support team at support@ouloobikes.com
Related Articles
What type of maintenance should I be performing on my bike?
